- Home
- Blog
- Contact
WPHarvest
Setup RunCloud on Linode VPS hosting
A step by step guide for setting up the RunCloud server management tool on a Linode VPS instance for WordPress / WooCommerce hosting.
Preface
One of the most common questions we see online is about what is the best hosting provider for WordPress / WooCommerce. This alone is a very hard question to answer as there are a lot of factors to take into account. A popular WooCommerce shop with thousands of products and orders would not have the same hosting requirements as a simple WordPress blog would. Depending on your needs, there are a variety of options out there.
Some simple things you would need to consider include:
- Number of visitors per month
- Number of database queries
- Storage needed, ie for thousands of products your would need to save thousands of images
- How experienced are you with solving simple hosting issues, ie. how much support would you need from your hosting provider
- What is your budget
- Etc.
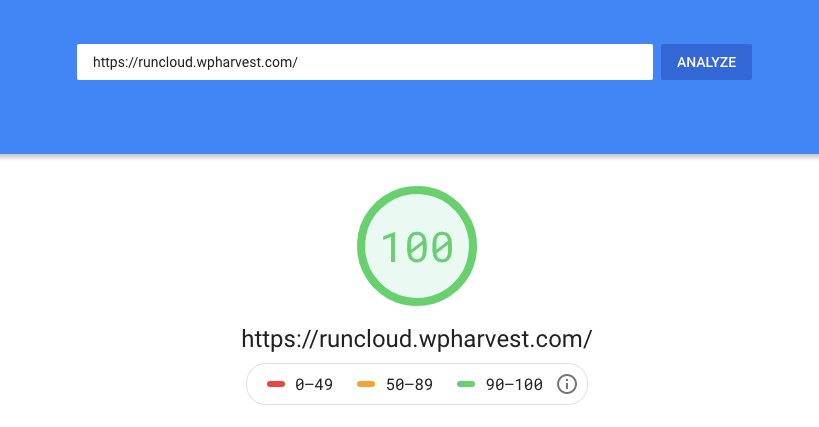
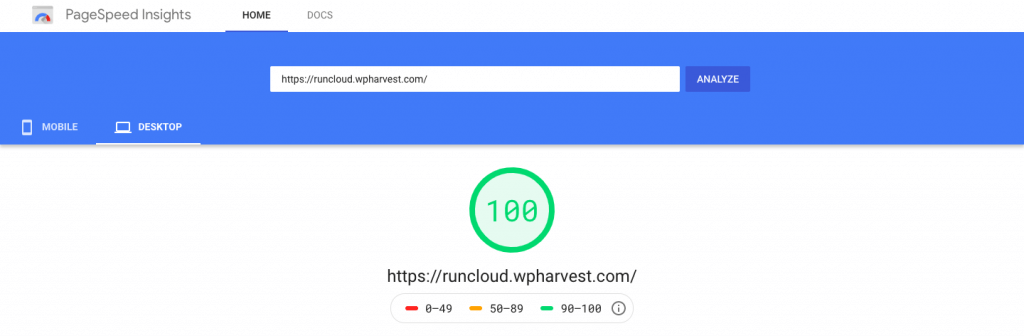
Also, if you already have a good hosting provider but things are starting to slow down a little bit, or just want to make sure you make the most of your money, make sure you are optimizing your site as much as you can. You can throw more money at your hosting, but wouldn’t it be better if you could follow some best practices for free? Here is a tutorial I wrote on optimizing your site based on various recommendations from GTMetrix.
Introduction
This tutorial is aimed at people willing to get their hands dirty with some DYI work, have limited access to support, but get the most out of their budget and have full control over their hosting.
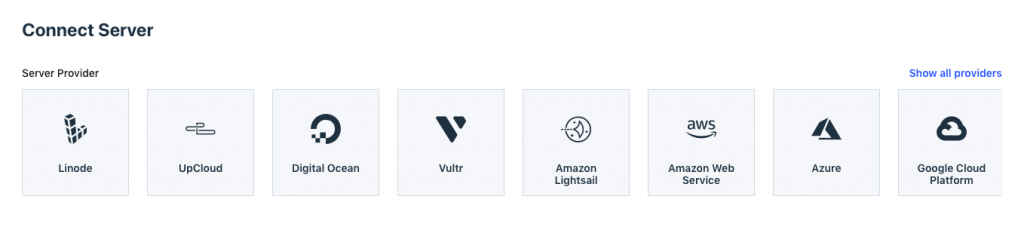
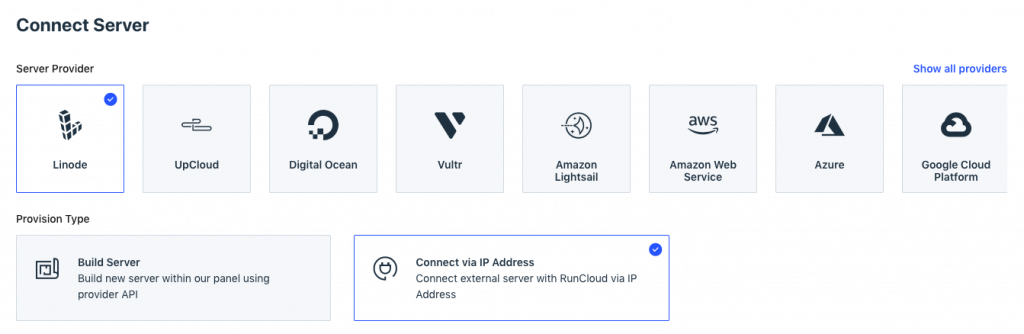
In this step by step guide, you will learn how to set up the RunCloud server management tool on the cheapest Linode cloud hosting instance. If you prefer a different VPS server provider, feel free to use that as this guide would still be helpful, giving you general guidance at least. Here is a list of the accepted providers:
What this post doesn’t cover
This is a guide aimed at getting started with Linode and RunCloud. There are many aspects when it comes to hosting and many options in Linode, as well as many features of the RunCloud tool. This is more of an introductory guide to get you started.
Setting up a Linode instance
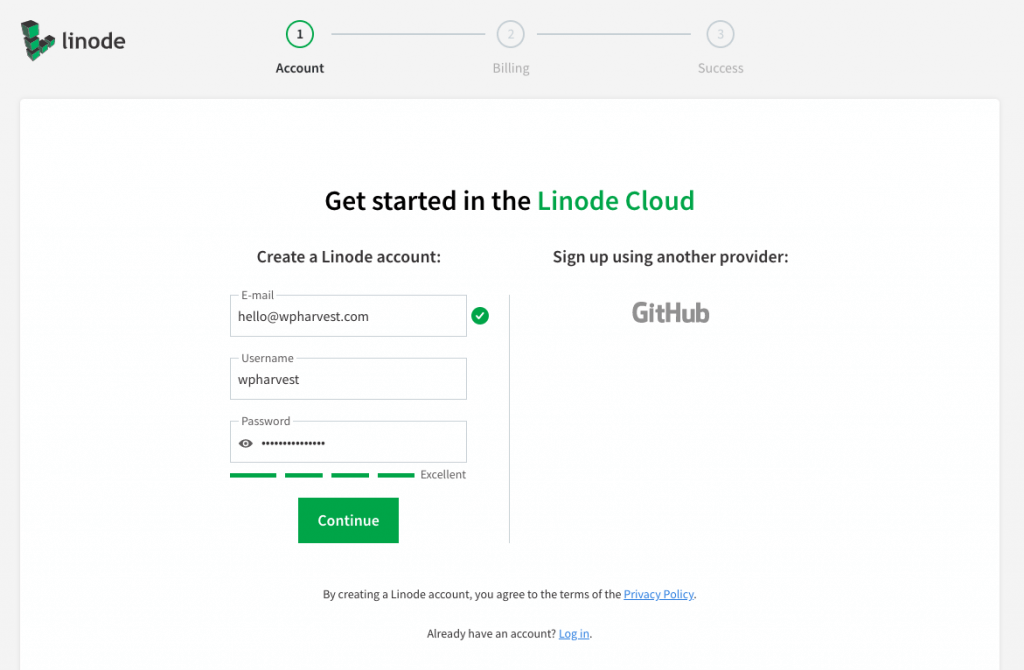
The first stop on this guide is at Linode. Here we need to get sign up for a new account.
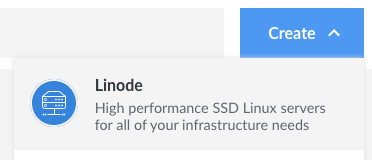
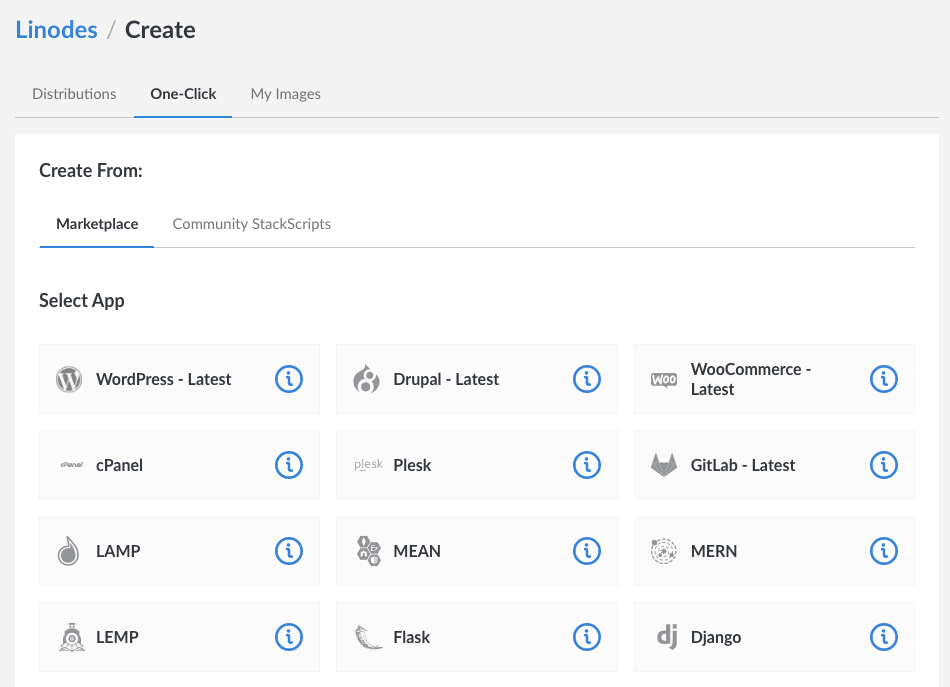
When ready, we will be accessing our cloud hosting dashboard. From here we will need to create a new VPS by clicking Create > Linode.
As a side note, here you also have One-Click options for installing one instance of WordPress or WooCommerce and you’ll be done, but we recommend using RunCloud for better server management using their dashboard, as well as pre-installed services such as the latest PHP version, MemCache, and Redis which we will be using for caching with the help of their RunCloud Hub package and WordPress plugin. We will come back to this soon.
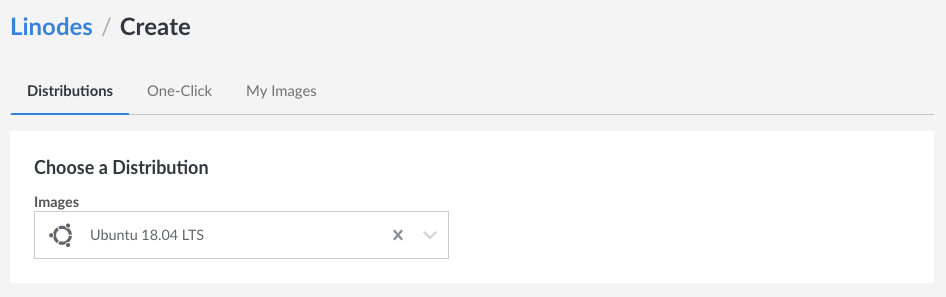
For our need, we need to go to Distributions. Image represents the OS we want to use. RunCloud recommends a fresh installation of Ubuntu 16.04 or 18.04 x86_64 LTS.
Choosing the Region depends on where most of your visitors/customers come from. In my case, I chose London, UK.

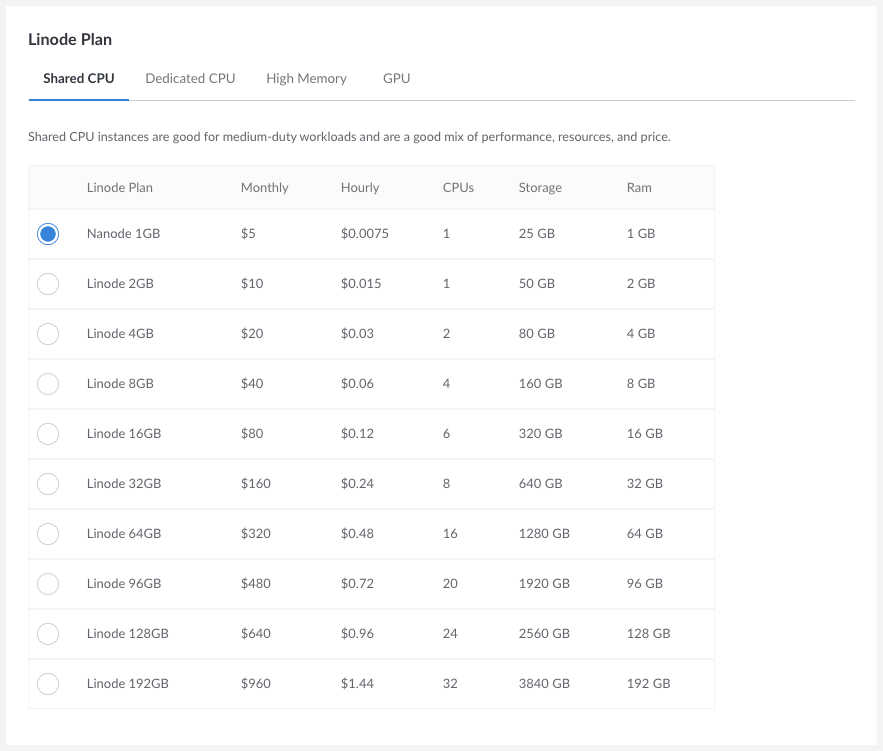
Now for the money part, we need to choose the Linode Plan. RunCloud has the following minimum requirements:
- More than 1GB of HDD
- At least 1 core processor
- 512MB minimum RAM
- At least 1 public IP Address (NAT VPS is not supported)
Unless you know what you’d need, I recommend you start with that and then upgrade as you grow. That way you find the cheapest solution for your needs.
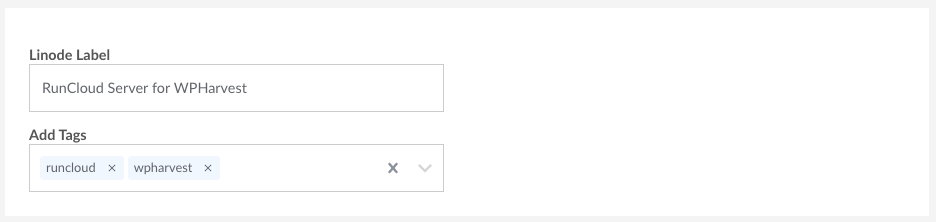
On the next step, we simply label our instance and tag it to differ it from other instances we might create in the future.
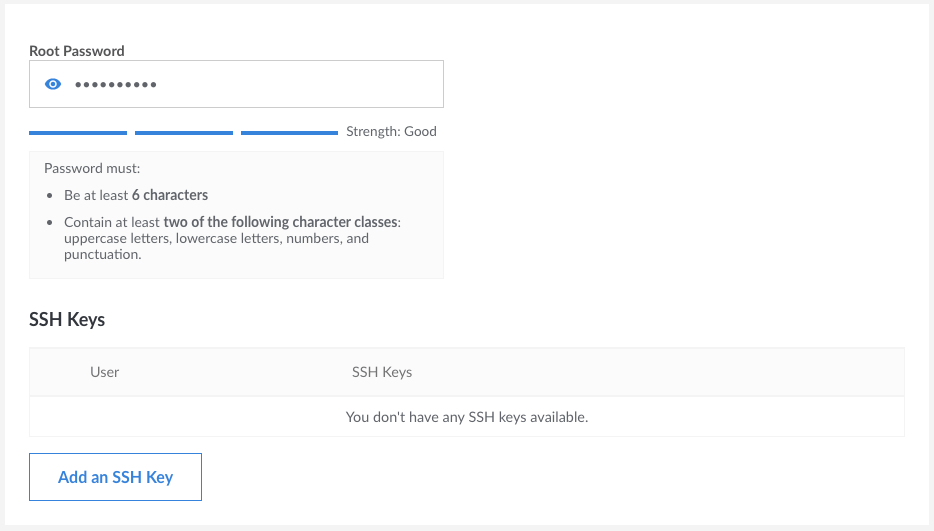
On the last step of the setup we enter our Root Password and SSH Key. We will need the root password for the RunCloud remote setup.
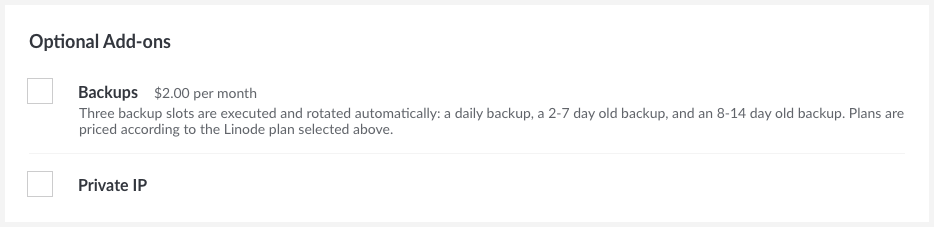
At the end you can choose extras such as Backups or Private IP, but these are not covered in this guide.
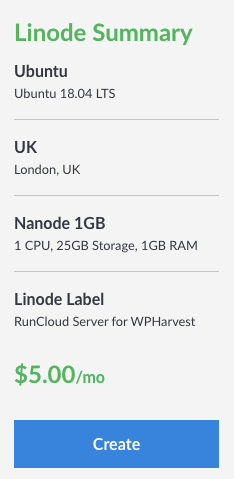
Under the summary, on the right-hand-side, we now click Create. The provisioning will take a minute or two, so now we go grab a quick coffee (or tea, beer, tequila shot).
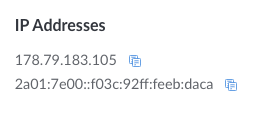
Once ready, we take a note of the IP address provided. We will need it later on the RunCloud setup.
Bonus: an easy to follow GIF (by the way, it’s read GIF, not GIF) taken from the Linode documentation page. Make sure you still follow the instructions above and only use the GIF below for general guidance.
Setting up RunCloud
Now that we have our Linode server set up, traditionally we will need to start installing all the requirements for an NGINX server alongside MySQL and various caching and what not tools. This would be an advanced job and realistically pretty scary for the not-so-technical people. This is where RunCloud comes in and makes life much easier with their click-click dashboard.
We start off the second stage of our setup by creating an account on RunCloud. Note that all new accounts start with a 5 days free trial of all the features. You then get downgraded to a free account which afterward you can choose to upgrade to a paid membership.
Once we have our account, we connect it to our Linode server via Connect via IP Address option.
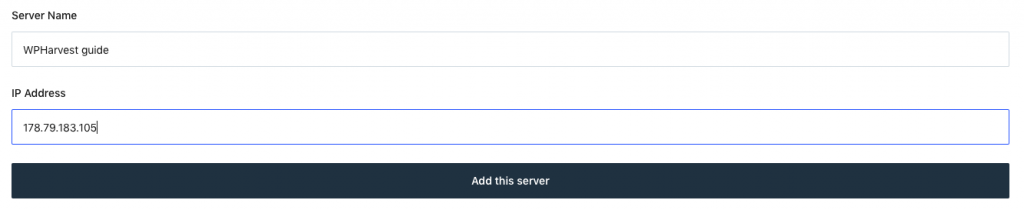
We then give our first RunCloud server a name and enter the IP address noted above.
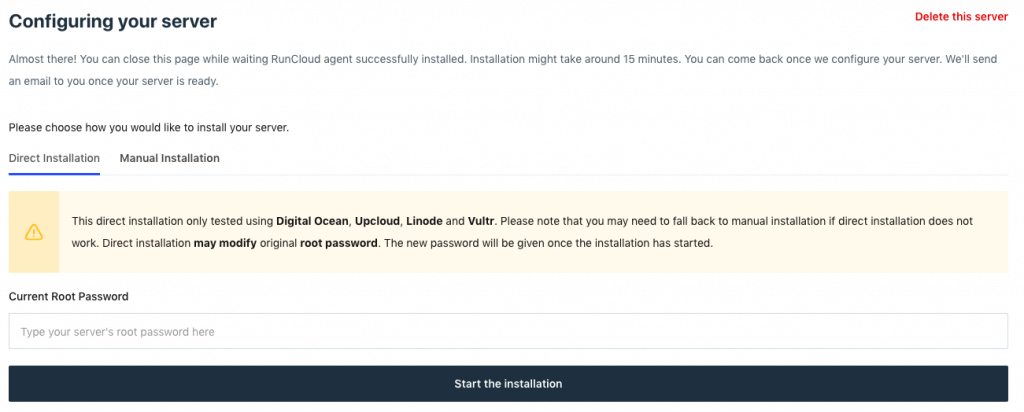
In the next step we can choose to do a manual installation of RunCloud on our Linode server via SSH by copy-pasting a few commands, but for simplicity and efficiency, we will do a Direct Installation by entering our Linode server root password. We then click Start the installation and go for another short break (at this stage I’ve started mixing a Pineapple Screwdriver – to learn more about the benefits of having pineapple contact me in private).
Creating our first RunCloud WordPress application
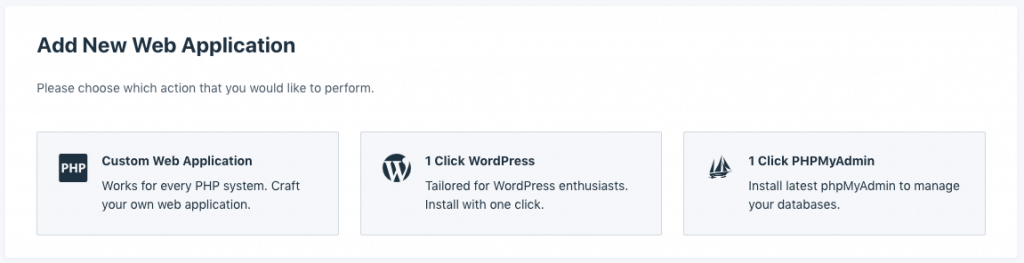
Once everything has set up on its own we are ready to create our first Web Application. In our case, we will install the 1 Click WordPress.

It is worth noting that using this setup, we can add as many WordPress sites to our server as it can take. You could, for example, create a separate staging site, if you don’t wish to use RunCloud’s built-in staging functionality which is a paid feature.
Web Application Name – Name of the application.
Domain name – Either add your own domain or use a temporary domain given by RunCloud. After setting this up, we will need to point the domain’s DNS A record to the Linode server’s IP address.
Web Application Owner – Feel free to use the existing system user or create a separate user for your applications.
PHP Version – It is highly recommended that you always use the latest PHP version.
Web Application Stack – I am yet to find out which are the scenarios in which each one is best suited for, but for now we can go with the default Native NGINX. With this stack, we can’t use the .htaccess file but it is faster, and considering WPEngine is also removing the .htaccess file post PHP 7.4, we should be fine.
WordPress Section – These are the same fields you will find when installing WordPress manually.
Canvas – RunCloud allows us to create canvases that we can use when creating new applications. Using canvases we can preset which themes and plugins we want to be installed by default in order to save time.
Database – These are, again, part of the normal WordPress installation and are optional and can be left as default.
At this stage, just a reminder that we need to point the domain’s DNS A record to the Linode server’s IP. This can usually be done from the dashboard of where you bought your domain from. If you can’t find it, you can contact your domain provider to do it for you, or show you how.


Once the DNS has propagated (you can use this tool to check), we are all set. You can visit your site and find it live.
RunCloud Hub
RunCloud Hub is a great tool that makes adding and using MemCache and Redis caching a piece of cake. The only thing to be aware of, make sure you install it on a fresh WordPress installation as it can clash with other server caching plugins.
Once activated, this will also install the RunCloud Hub plugin onto your WordPress instance which will allow you to clear the caches from your WordPress Dashboard.
SSL/TLS
Every site, especially WooCommerce stores, need to secure the connections vis SSL. RunCloud also allows us to install a free SSL certificate from Let’s Encrypt and renews it automatically for us. This takes a great worry away from us that we otherwise would have had a few years back.
Conclusion
In this step by step introductory guide to Linode and RunCloud self-managed VPS hosting we have learned how to get started with both services and get them both set up in order to have a cheap but powerful hosting that we can manage ourselves.
At this stage, feel free to roam around the RunCloud options and learn more about what it can do for you. You can also start migrating your existing site over. If you feel like the cheap Nanode is not good enough for you, you can always upgrade hustle free (but always – always take a backup for peace of mind).
Thanks for sticking with me till the end and if you have any questions or are having any issues, please leave a comment below and we will aim to answer to the best of our knowledge.